Triforce Tree-Topper
It’s that time of year, where our house gets coated in glitter and we move a tree from outside where it belongs into our living room. Christmas is a time of year I love and that’s because I get to make stuff and play with electricity. Also family and friends.
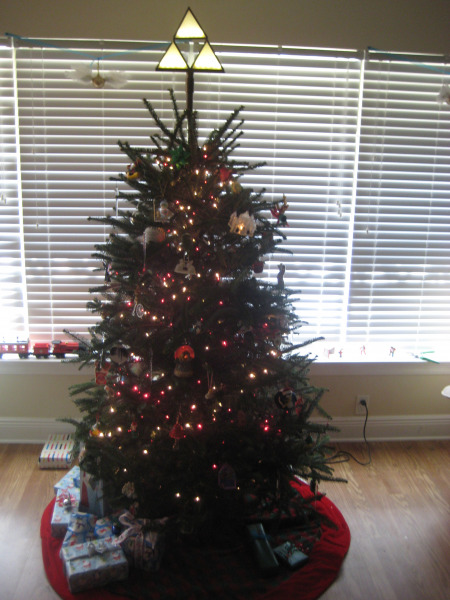
Every indoor evergreen conifer needs a tree-topper and our Fraser fir we affectionately named Dr. Crane is no exception! Rhea and I had once considered a Triforce tree-topper, but nothing really ever came of it. However, as this was our first Christmas in our house (we were on our honeymoon last year), we figured, of course we need a Triforce tree-topper! And so I set out to build one.
My plan was simple: build three triangle boxes with plexi-glass “windows”, mount the triangles on some PVC pipe to place the whole thing on the tree, and cram a strand of Christmas lights in them and call it a day!
I had some scrap 1” wide slats of wood lying around from when I had to fasten a tarp on our roof after Hurricane Isaac, so I figured I’d cut those up to make the sides. The plan was to frame the triangles with 5” long slats and then cut a groove on each side of the each slat so that the plexiglass could slide in and be secured.
This worked fine, except I didn’t have a mitre saw, nor a mitre box. I needed to cut one end of two of the slats per triangle at a 30° angle so that the peak is at 60° so that I have an equilateral triangle. I bought a mitre box, but I didn’t bother to look at the degrees it had on it and it only had 90° and 45° and 22.5°. So, the next step was to go to the drugstore and buy a protractor. I drew a 30° angle on some cardboard as a guide and cut a 30° slot on the mitre box to cut the wood. It mostly worked, but I apparently didn’t hold my hand straight, so the cut was a little off. For not having the right tools, the cuts looked fine enough.
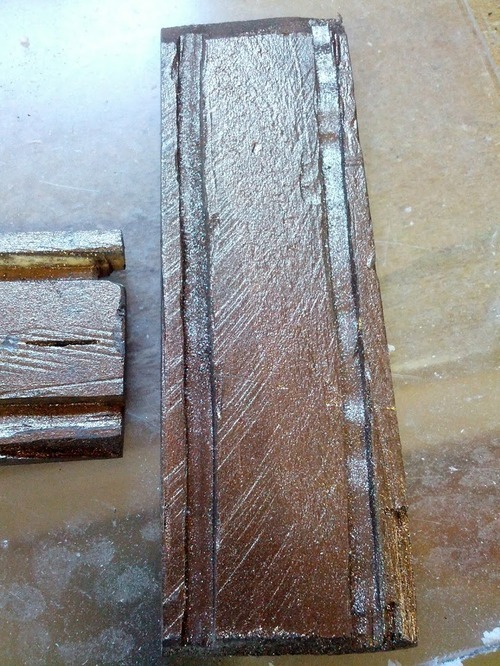
I didn’t take pictures of the whole process, but here’s one of the slats. I used my Dremel to cut the slots, which didn’t need to be perfect. I painted the wood, too, with spraypaint that had metallic flecks in it to give it that bronze-golden look.
So, I made a large base out of a 10” long piece of slat and mounted it to an end cap for a 3/4” PVC pipe. I drilled a hole through the cap and the base, and cut a groove along the base from the hole and down about an inch and a half. That would allow the wiring for the lights to run up the pipe, and along the large base. I then drilled a hole in the base of the bottom right triangle for the wire to come up and into the triangle.
So now I had the bases for both bottom triangles mounted to the large base, mounted to the pipe. I used some little nails for my staple gun to fasten the bases together after running the wire through the groove and holes. Then, using some JB Weld, I attached the right side of the bottom-left triangle and the left side of the bottom right triangle.
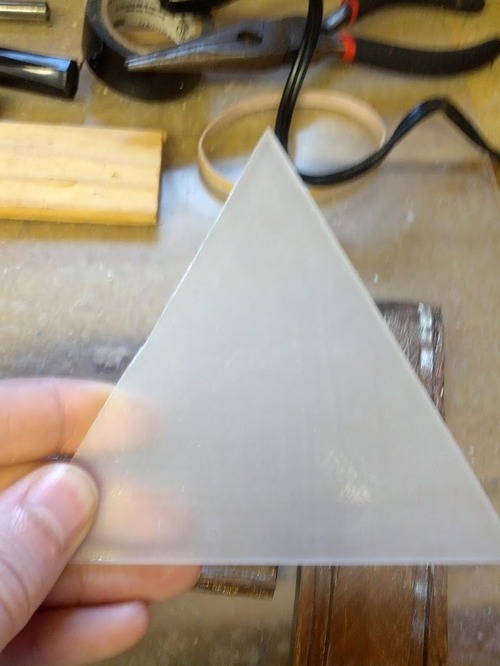
In Photoshop, I created a 5” x 5” x 5” equilateral triangle and printed it at 100% and used that as a stencil for the plexiglass. Using my Dremel, I cut out six triangles. Using some fine grit sandpaper (I think I used 180 grit), I sanded in all directions to rough up the triangles. This will diffuse the light in the triangles, and hide the wires and bulbs. After sanding, I slid one plexi triangle into both of the bottom triangles to aid in support. Then I began wiring.
My first decision was to just shove a strand of Christmas lights inside, but the wires made things too dark, and I couldn’t fit many bulbs in there. I went and bought a shorter strand of LED Christmas lights and started to make a wad of lights in a circle and place them inside the triangle. That worked, but the center of the triangle was dark from the wires. I then decided to re-wire the LED strand.
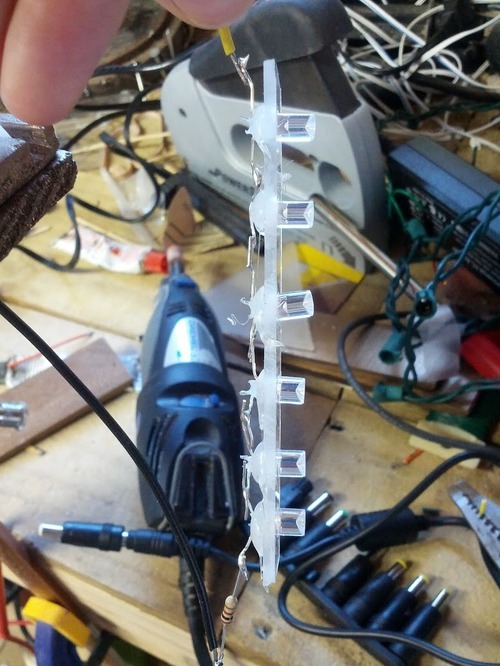
My plan was to use leftover plexiglass to cut out some 4” strips of plastic, drill about 5 or 6 holes in them and mount the LEDs from the strand in there with hot glue, and just solder the legs on the LEDs to each other to cut out the wires. I planned to put one LED strip on each side of the triangles. This was working, but, was too cumbersome to mount inside the triangle, and I didn’t feel like removing and resoldering 50 LEDs.
I had already made three plastic strips with the LEDs mounted and soldered when I mentioned this to Rhea. She suggested just putting one strip in each triangle since they don’t need to be THAT bright. It was a great idea!
So, new plan: one LED strip of 5 LEDs mounted on the bottom of each triangle. I now needed to figure out the best way to wire these up. I found an LED resistor calculator online that worked really well. Using an 18.5V power supply I bought off of Amazon, I would have a 3x5 LED matrix.
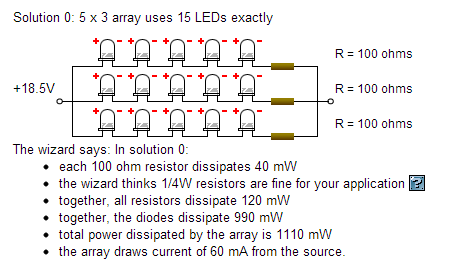
The 18.5V would all be connected to the anode (positive) leg of the first LED of the three strips, then, the end of each strip would have a 100ohm resistor connected to it, where the negative wire from the power supply would connect.
I wired things up to test and success! It worked!
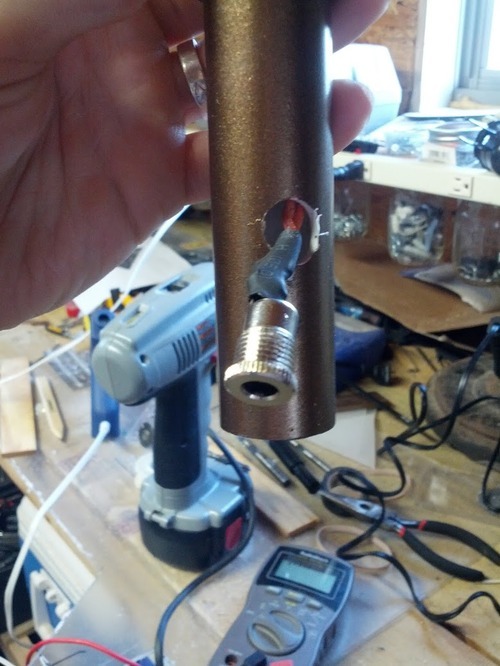
You can see in the photo below how everything looks coming out of the PVC pipe and into the bottom-right triangle.
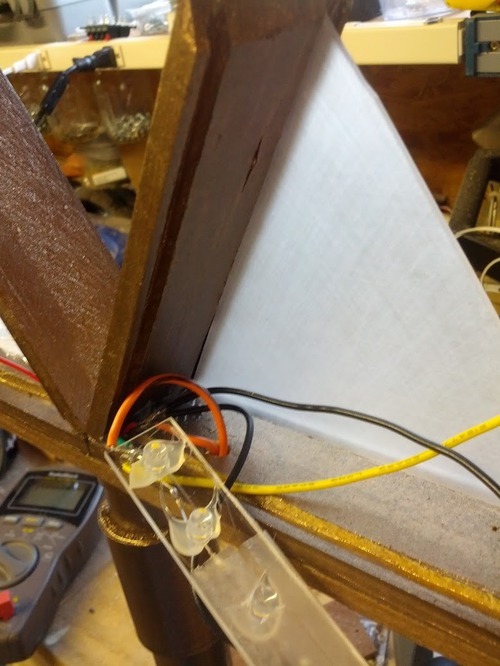
The grooves for the plexiglass triangles were helpful in subtly running the wires from one triangle box to the other, as you can kind of see the green wire doing in this picture. The yellow wire runs along that side of the bottom right triangle and up into the top triangle, along with the long black wire near it.
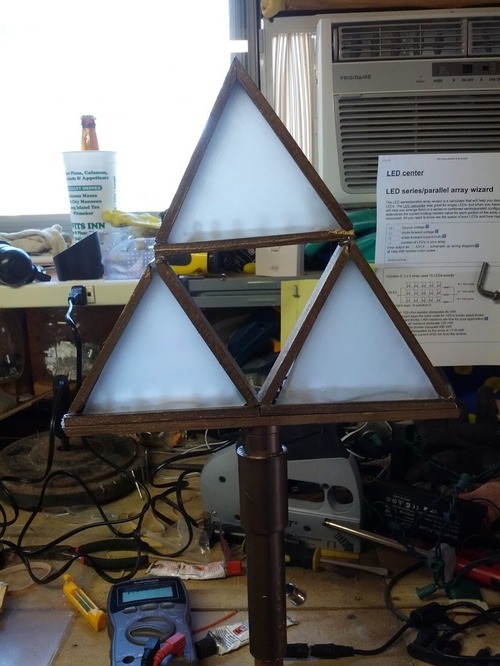
At this point, the project looked like this:
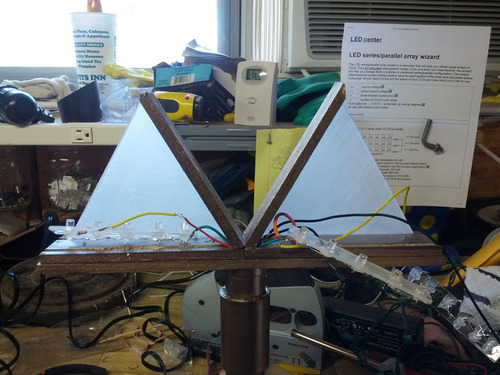
It’s not pretty, but it works, and it’ll be hidden once completed. You can see my LED schematic and my hand-drawn plans for the project n the magnetic strip in the background.
Now that everything was wired up, it was time to mount it all. I used hot glue for most of this. I glued the strips to the bottoms of each triangle, and glued the wires for the top triangle to the left side of the bottom right triangle to keep them out of view. I had to notch a bit more out of the peak of the bottom right triangle for the wires to run through, but it’s hardly noticeable up on the tree.
The 18.5V power supply I bought was actually a variable power supply with like 8 different voltages available from 11V up to about 30V, so it also came with a few adapters for the tip of the plug. I had remembered that a few years ago I had bought a DC jack for another project and I never used it. After digging through my parts drawer, I found it and luckily, there was a plug adapter that fit it!
My plan was to mount the DC jack in the PVC pipe, but then I realized that the tree wouldn’t fit in the pipe if the jack were inserted all the way, so it just hangs loose in the back. It’s not great looking, but it’s not awful either.
In hindsight, I could’ve just extended the wires and ran it out the bottom of the pipe, which I could still do since I have another foot of PVC pipe left that’s already painted.
It was time to put everything together. I tested some attachments of the triangles using hot glue instead of JB Weld since it dries WAY faster. It’s holding very solidly, so I decided to use that to hold everything together. I’m not even the least bit concerned with stability. It’s pretty sturdy.
And there’s the final product! The bottom left triangle’s peak isn’t all that perfect, but, again, up on the tree, it’s hardly noticeable. The top triangle is a little crooked because the bottom left triangle isn’t the same height as the bottom right one, but if you angle it on the tree right, you can’t even tell. Plus, I’m not a carpenter and I had not the right tools, so, I’m happy with it!
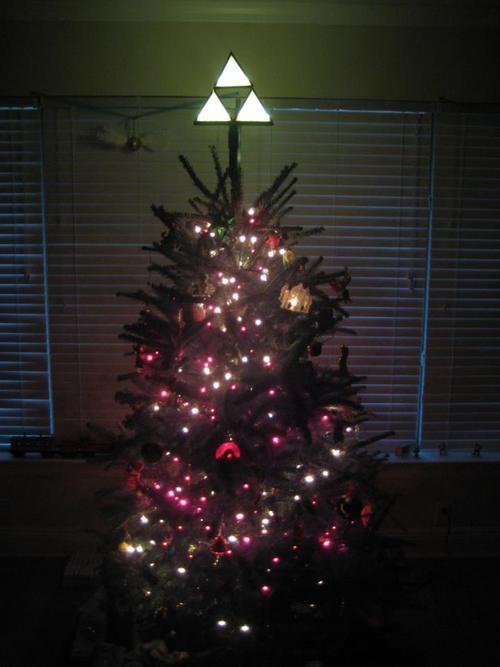
And here’s a shot of it light up:
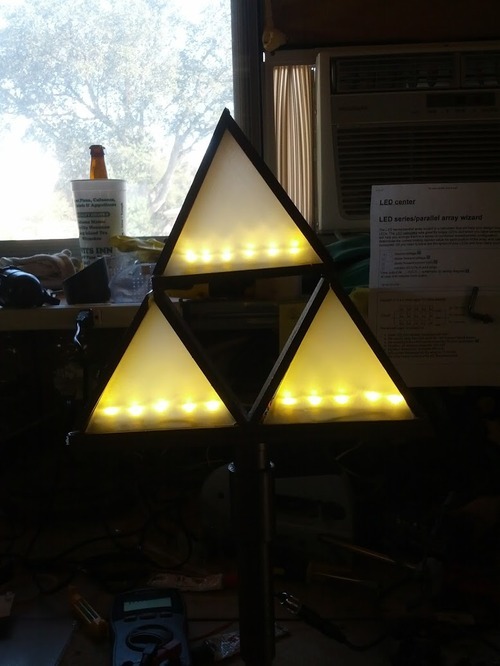
And another, where I didn’t focus on the LEDs to show you the glow:
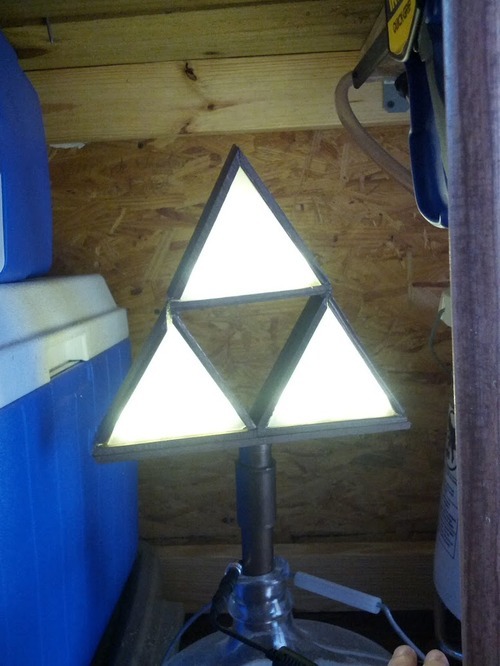
You can thank our homebrew carboy for holding it up and Rhea for pulling the wires out of the way for this shot.
It was a frustrating project at first because I hadn’t thought everything out and didn’t have the right tools, but all in all, I’m happy with the finished product and I learned some things a long the way. Like, I need a mitre saw.